Wash and thinly slice the oranges. Place the slices in the boiling water for about 2 minutes.
Remove the oranges from the water and place them on a wire rack.
Dump out the water. Bring a fresh 1 1/2 cups of water and 1 1/2 cups of sugar to a boil (no need to get to candy temperature, we don’t want these to be hard)
Place the orange slices in the water and reduce the heat to low.
Boil the orange slices for 45-50 minutes, flipping them around every 10-15 minutes.
Once the oranges are done, remove them from the water and place them on the cooling rack.
While the orange slices are cooling, melt the chocolate in the microwave.
Dip one half of each orange slice into the chocolate and place on a baking sheet. Transfer them to the fridge until the chocolate hardens.
1 cup/225 grams unsalted butter (2 sticks), softened, plus more for greasing the pan
½ cup/110 grams light brown sugar
½ cup/100 grams granulated sugar
1 teaspoon vanilla paste or extract, or scrapings from ½ vanilla bean
½ teaspoon kosher salt
2½ cups/320 grams all-purpose flour, plus more as needed
1 cup/140 grams whole salted, roasted peanuts, finely ground, plus about ½ cup/70 grams roughly chopped salted, roasted peanuts
honeycomb layer
1 tablespoon baking soda
1½ cups/300 grams granulated sugar
¼ cup/60 milliliters honey
chocolate topping
4 ounces/115 grams dark chocolate, chopped (about ⅔ cup)
½ teaspoon vegetable shortening
Flaky sea salt, for sprinkling
instructions
Heat oven to 325 degrees. Butter a 9-by-13-inch metal pan, and line with parchment paper, leaving plenty of overhang on the long sides. _
Make the cookie layer: Combine 1 cup butter, the light brown sugar and the granulated sugar in the bowl of a stand mixer fitted with the paddle attachment. Cream together on medium-high speed until light and fluffy, 2 to 3 minutes, scraping bowl as needed. Add vanilla and salt; beat to combine. _
Add 2½ cups flour and all peanuts, and beat until crumbly. Transfer the dough to the pan. Using floured hands, pat out the dough evenly but lightly, without compacting. Prick surface all over with a floured fork, and freeze until firm, about 10 minutes. Bake until firm at the center and golden brown all over, 35 to 40 minutes. Remove from oven, set pan on a wire rack, and cool completely. _
Prepare the honeycomb layer: Have a large metal bowl, a whisk, the measured baking soda and the baked peanut cookie layer ready by the stove. In a wide, shallow saucepan, combine granulated sugar, honey and ¼ cup water, and whisk to combine. Cook over medium-high heat until the mixture comes to a boil, gently swirling the pan without stirring, and using a wet pastry brush to wash down any sugar crystals clinging to the sides of the pan. Clip on a candy thermometer, and cook the mixture until the thermometer reads 300 degrees, 5 to 6 minutes. _
Quickly and carefully pour and scrape the honey mixture into the metal bowl, then immediately whisk in the baking soda. (The mixture will puff up quite a bit.) Briefly whisk to dissolve the baking soda, but don’t overbeat. Immediately pour the hot mixture on top of the peanut cookie layer. Aim to cover the shortbread while pouring, then tip the pan around a little to distribute the honeycomb as much as possible. (Resist the urge to spread it out with a spatula, which will knock the air out of the honeycomb, making it hard instead of airy.) Cool completely. Run a small sharp knife around the edges of the pan to loosen. Using the overhanging parchment, lift and transfer to a work surface. _
Use the point of a small, sharp knife to break the cookie into 2- to 3-inch shards and arrange them on a parchment- or wax paper-lined baking sheet. _
In a metal bowl set over a small saucepan filled with an inch of simmering water, combine the dark chocolate and the shortening, and stir until smooth and melted. Remove from heat. (You can also melt the chocolate in the microwave instead: Transfer the chocolate and shortening to a microwave-safe glass bowl and microwave for 30 seconds. Whisk to combine, then heat in 20-second increments, whisking between each, until melted.) _
Using a small spoon, drizzle the chocolate over the cookie shards. Sprinkle with sea salt. Pop into the freezer to harden the chocolate, about 5 to 10 minutes. Cookies will keep in an airtight container at room temperature for 3 days. _
Frost with chocolate buttercream. To make the buttercream, beat the butter, milk, cocoa powder, and half the powdered sugar on medium for several minutes, until mixture is smooth. Add in more powdered sugar (perhaps all) and more cocoa powder as needed. –
Frost the cake at room temperature with frosting at room temperature.
*NOTE: dad said the frosting was too chocolatey and next time make frosting lathe way it says to on the powdered sugar box
instructions
Make the cake. –
Frost with chocolate buttercream. To make the buttercream, beat the butter, milk, cocoa powder, and half the powdered sugar on medium for several minutes, until mixture is smooth. Add in more powdered sugar (perhaps all) and more cocoa powder as needed. –
Frost the cake at room temperature with frosting at room temperature.
12 tablespoons (170g) butter, at room temperature, at least 65°F
1 teaspoon salt, (1 1/4 teaspoons if you use unsalted butter)
1 1/2 cups (298g) granulated sugar
1/3 cup (71g) light brown sugar or dark brown sugar, packed
2 1/2 teaspoons baking powder
2 teaspoons vanilla extract
3 large eggs, at room temperature
3/4 cup (170g) sour cream or plain yogurt, at room temperature
1 1/4 cups (283g) milk, anything from skim to whole, at room temperature
3 3/4 cups (450g) unbleached all purpose flour
filling
1 cup (213g) dark brown sugar or light brown sugar, packed
1 1/2 tablespoons cinnamon
1 teaspoon unsweetened cocoa
topping
1 cup (198g) granulated sugar
1/4 teaspoon salt, (if you use unsalted butter)
1 cup (120g) unbleached all-purpose flour
1 tablespoon cinnamon
6 tablespoons (85g) butter, melted
instructions
Preheatthe oven to 350°F. Lightly grease a 9″ x 13″ pan, or two 9″ round cake pans. –
Makethe topping by whisking together the sugar, salt, flour, and cinnamon. Add the melted butter, stirring until well combined. Set the topping aside. –
Make the filling by mixing together the brown sugar, cinnamon, and cocoa powder. Note that the cocoa powder is used strictly for color, not flavor; leave it out if you like. Set it aside. –
To make the cake, in a large bowl, beat together the butter, salt, sugars, baking powder, and vanilla until well combined and smooth. –
Add the eggs one at a time, beating well after each addition. –
In a separate bowl, whisk together the sour cream or yogurt and milk till well combined. You don’t need to whisk out all the lumps. –
Add the flour to the butter mixture alternately with the milk/sour cream mixture, beating gently to combine. –
Pour/spreadhalf the batter (a scant 3 cups) into the prepared pan(s), spreading all the way to the edges. If you’re using two 9″ round pans, spread 1 1/3 cups batter in each pan. –
Sprinkle the filling evenly on the batter. –
Spreadthe remaining batter atop the filling. Use a table knife to gently swirl the filling into the batter, as though you were making a marble cake. Don’t combine filling and batter thoroughly; just swirl the filling through the batter. –
Sprinklethe topping over the batter in the pan. –
Bake the cake until it’s a dark golden brown around the edges; medium-golden with no light patches showing on top, and a toothpick or cake tester inserted into the center comes out clean, about 55 to 60 minutes for the 9″ x 13″ pan, 50 to 55 minutes for the 9″ round pans. When pressed gently in the middle, the cake should spring back. –
Remove the cake from the oven and allow it to cool for 20 minutes before cutting and serving. Serve cake right from the pan.
Tips from our [King Arthur’s] Bakers lol
Dress it up for guests: Make a glaze with ½ cup confectioners’ or glazing sugar and 1 tablespoon milk; drizzle glaze over the cooled coffeecake.
It’s easy to spread half the batter in the pan when you know how much it weighs. If you have a kitchen scale, half the batter weighs about 28 ounces.
Want to prepare this coffeecake the night before, then bake in the morning? It’s easy; simply cover the unbaked cake with plastic wrap, and refrigerate overnight. Next morning, bake the cake as directed. Start testing for doneness at the end of the suggested baking time; you’ll probably have to add 5 minutes or so to the total time, to account for the batter being chilled.
In a large heavy bottom sauce pan/pot on medium heat- melt butter. –
Combine sugar, salt, corn syrup and sweetened condensed milk. –
Once the butter is fully melted, combine remaining ingredients in the large pot on the stove. Turn heat up to medium-high until mixture begins to boil (10-15 minutes). –
When the mixture begins to boil, turn the temperature down to medium, add the candy thermometer and set to Firm Ball Stage (248 ° F) and stir constantly. This can take 20-30 minutes. –
Once the mixture has reached 245 to 248 ° F and become thick and paste like and is a deep dark caramel color, remove from the heat and stir in the vanilla. Careful as it will bubble rapidly during this step. –
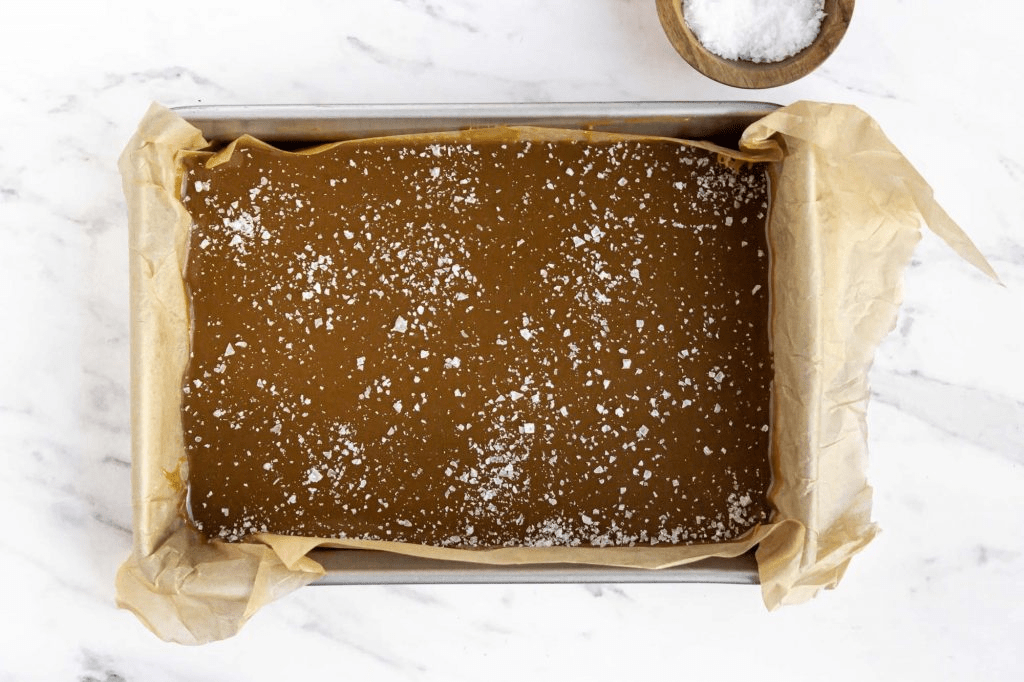
Immediately pour the caramel into the prepared pan to cool. After 20-30 minutes of cooling, sprinkle the finishing sea salt all over the caramel. –
Allow to cool overnight to completely firm up. (But if you’re in a rush, put it in the fridge, but don’t cut it until it’s come back down to room temperature). –
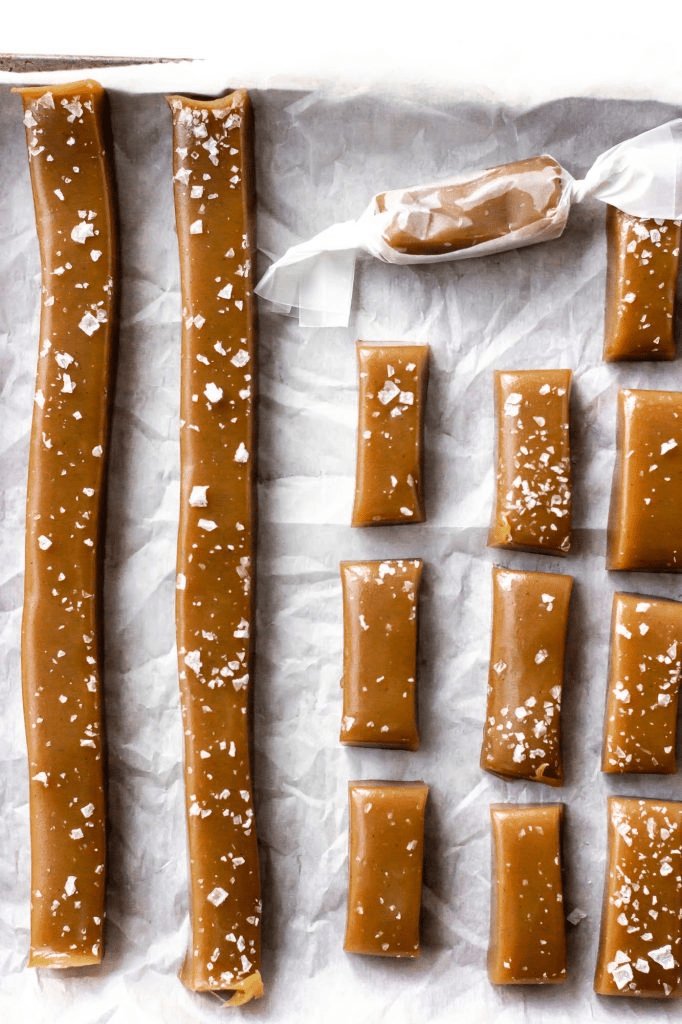
Carefully pull the parchment paper with the caramels out of the pan and place on a large cutting board. Using a knife or pizza cutter (this works best), cut 1×1 inch squares and wrap in wax candy wrappers.
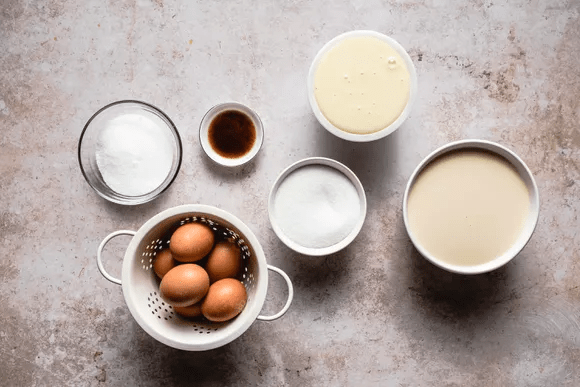
3 cups whole milk, or 2 cups whole milk and 1 cup heavy cream
2 strips lemon zest
⅛ teaspoon salt
6 large eggs
2 egg yolks
½ teaspoon pure vanilla extract
instructions
To make the cake:
Make caramel: Heat oven to 325 degrees. Pour 1 cup sugar into a saucepan, preferably one that is white or light-colored inside. Place over medium heat until deep amber in color, swirling the pan occasionally to caramelize evenly, about 10 minutes total. Constantly stir the sugar while it heats until it browns and turns into caramel. Do not overcook since the caramel will burn and have a sour taste. Watch the pan carefully after the mixture starts turning golden; it will quickly become light brown, then amber, then dark amber. Immediately pour caramel into a 9- by -5-inch loaf pan and swirl to coat the bottom evenly. Set aside to harden. –
Combine milk, lemon zest, salt and remaining 1 1/2 cups sugar in a saucepan and cook. Over low heat or in the microwave, heat through, stirring to melt the sugar. Set aside. –
In a blender (or using a hand blender in a pitcher), combine eggs, egg yolks and vanilla. Blend until smooth. –
Remove the lemon zest strips from the hot milk mixture. With the blender running, gradually pour the milk mixture into the eggs. Go very slowly at first so that the eggs don’t cook from the heat of the milk. Blend just until smooth. Pour egg-milk mixture into the caramel-lined pan. –
Place a 9- by- 13-inch baking dish in the lower third of oven. Carefully place the loaf pan in the baking dish. Pour hot tap water into the baking dish until it comes about halfway up the sides of the loaf pan. (Don’t worry if the oven seems to be losing heat; the flan will adjust.) –
Bake 55 to 65 minutes, until flan is set but still jiggly in the center. Remove flan from water bath and cool on a rack for 30 minutes. Refrigerate, uncovered, until cold and firm, at least 8 hours or up to 3 days. The caramel will soften as it sits. –
To unmold, run a thin sharp knife around the edges. Center a flat-bottomed platter or serving dish with a rim on top of the pan and, holding both, carefully flip the pan and plate together. The flan will fall onto the plate with a squelch; lift off the pan and let the caramel run all over the top. (If the flan doesn’t come out, flip it back over and rest the bottom of the pan on a hot wet kitchen towel for a few minutes, to melt the caramel.) Serve chilled, in slices.
“This traditional Iberian flan, is now sometimes called “Flan a la Antigua,” or Flan of the Past. That’s because it doesn’t include the common New World ingredients of condensed and evaporated milk. Instead, it is pure poetry made of eggs, sugar and milk. It does call for modern technology — blender and microwave — to streamline the preparation. The edge of sharp caramel against the round sweetness of custard is what makes the dish, so be sure to cook the caramel well past golden.”
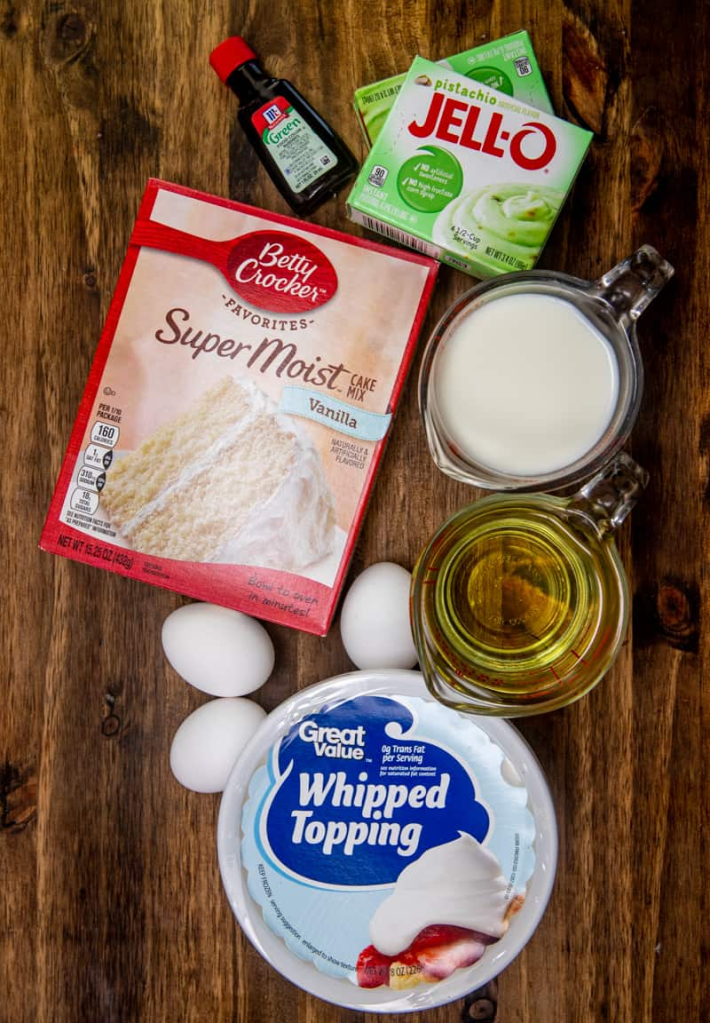
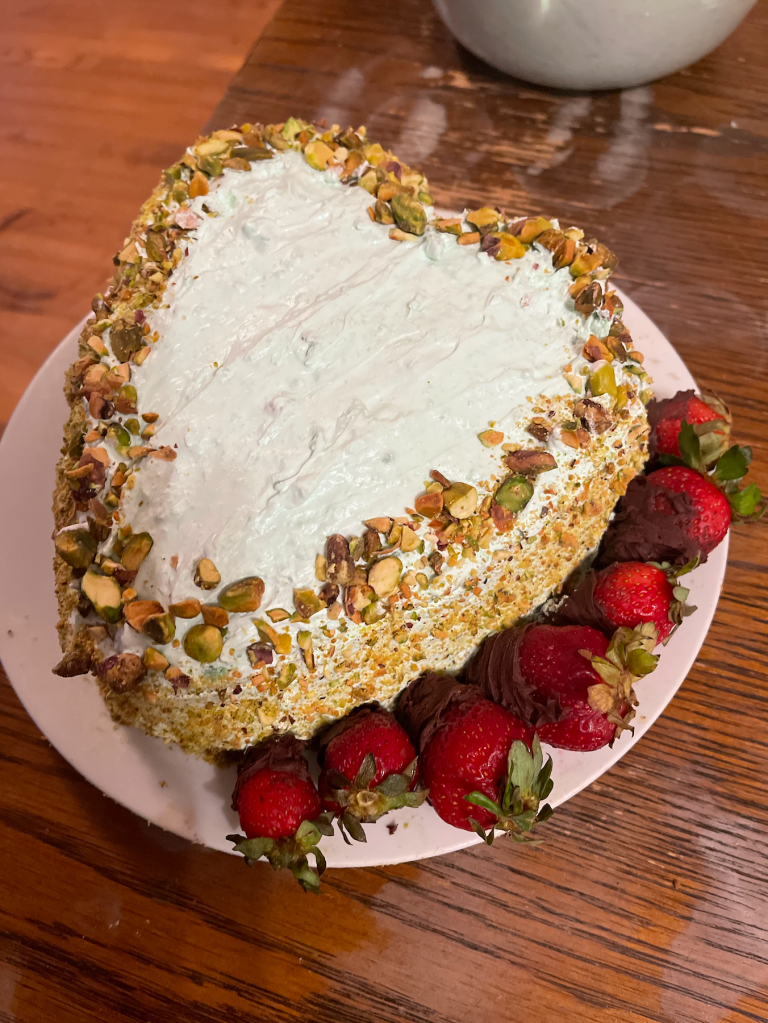
1 (8 oz) tub frozen whipped topping (COOL WHIP), thawed
instructions
To make the cake:
Preheat oven to 350F degrees. Spray two pie pans with cooking spray and line with parchment paper. –
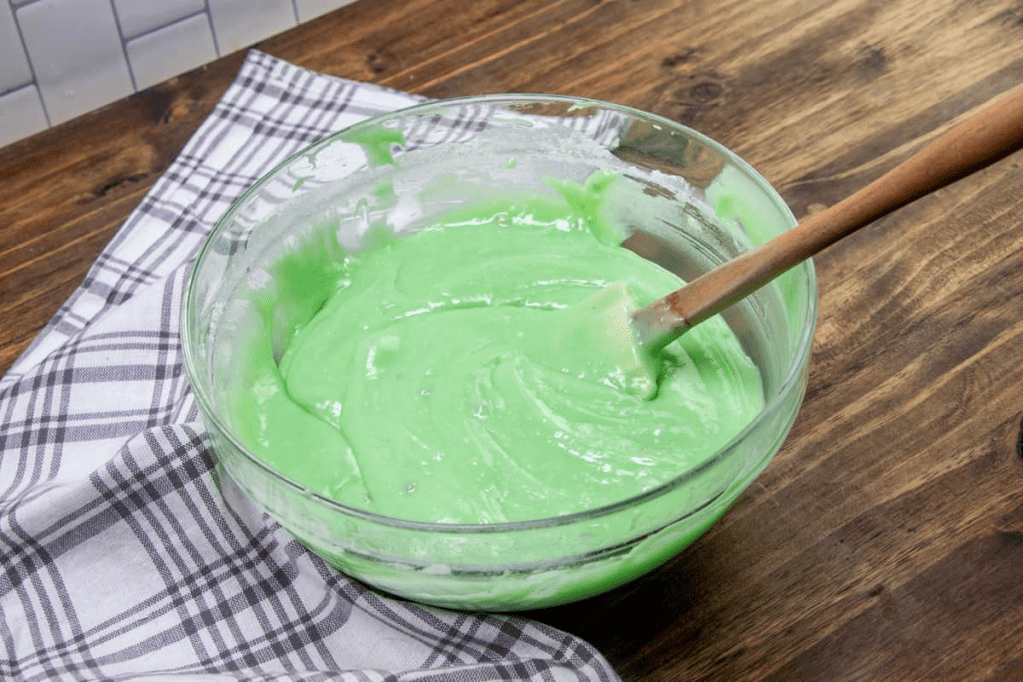
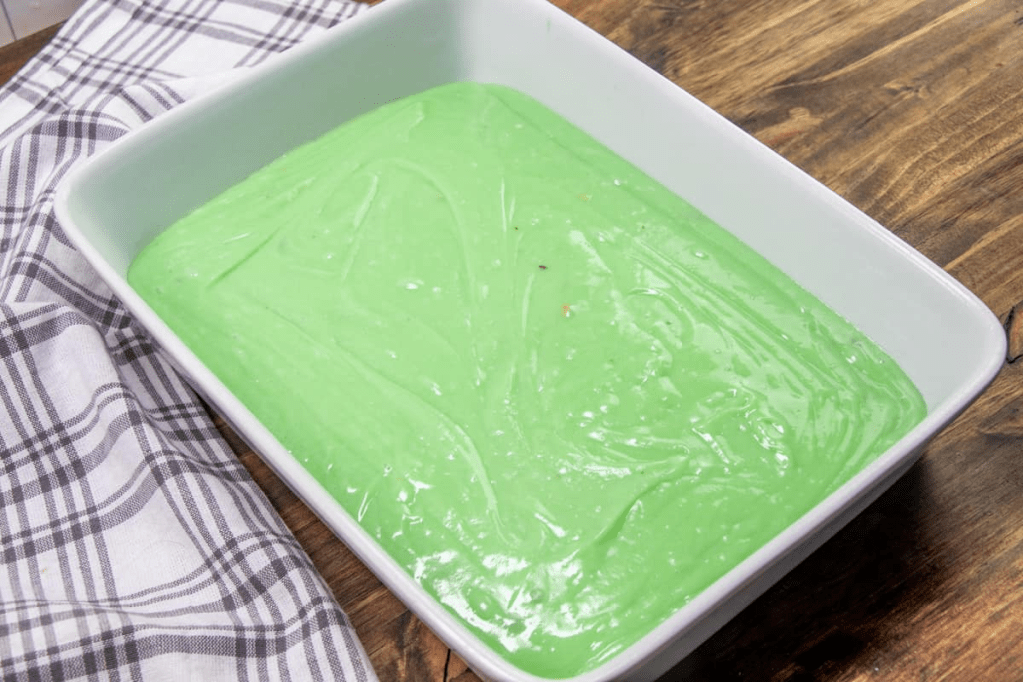
Combine dry cake mix with dry instant pistachio pudding. Mix those together until combined. Then add in eggs, oil and milk. Stir just until combined. Stir in about 6 to 8 drops of green food coloring until fully incorporated. Pour into prepared baking dish. –
Bake for about 25-30 minutes. If you insert a toothpick into it, it should come out clean when done. Allow cake to cool completely before making frosting.
To make frosting:
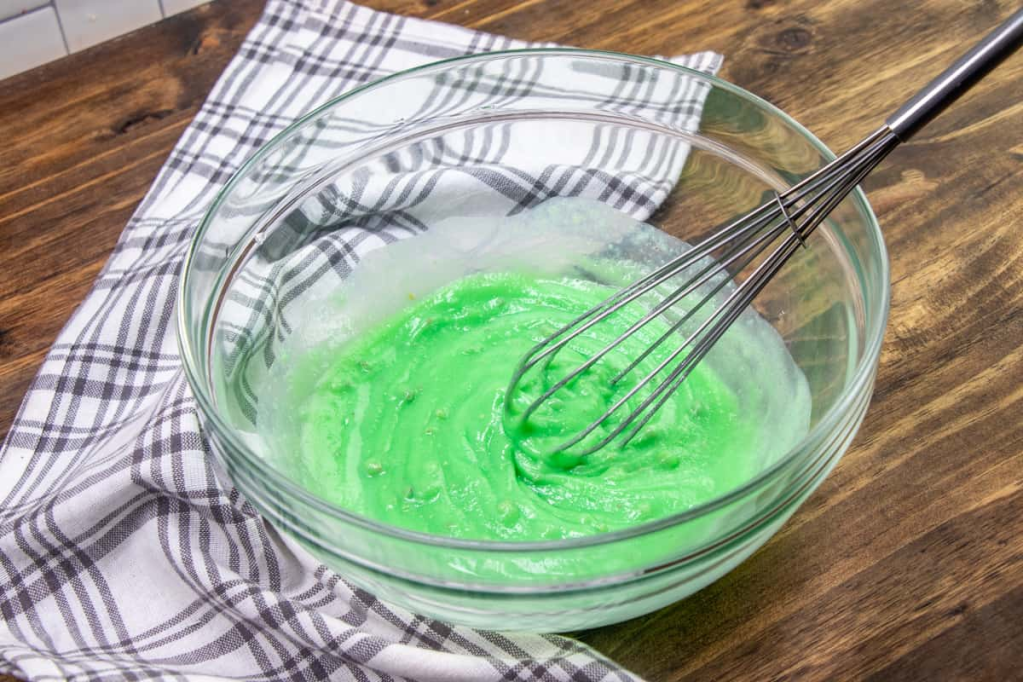
Pour instant pistachio pudding mix into a mixing bowl. Add in ½ cup cold milk. Stir until combined.
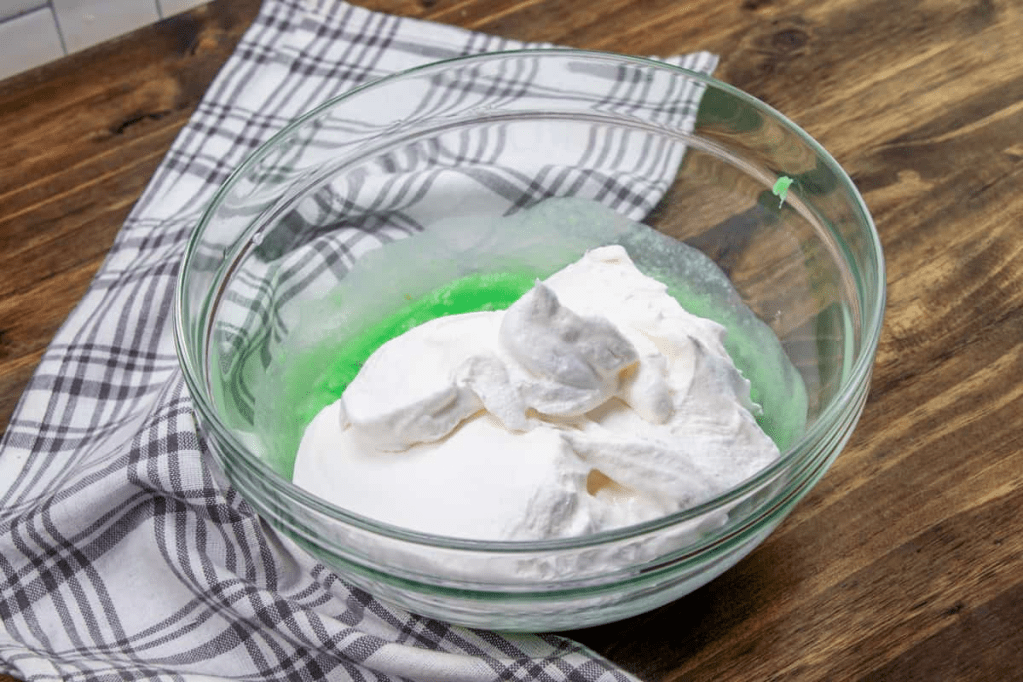
Stir in the thawed whipped topping.
Put in a few drops of green food coloring to really bring out that green color. About 5 drops or so.
Spread frosting onto cooled cake.
Slice and serve. If you like, sprinkle with some crushed pistachios.
Pour the rice and water into the bowl of a blender; blend until the rice just begins to break up, about 1 minute. Let rice and water stand at room temperature for a minimum of 3 hours. –
Strain the rice water into a pitcher and discard the rice. Stir the milk, vanilla, cinnamon, and sugar into the rice water. Chill and stir before serving over ice.
1/2 cup (1 stick or 115g) unsalted butter, softened to room temperature
3/4 cup (150g) packed light or dark brown sugar
2 large eggs, at room temperature
1/3 cup (80g) plain yogurt or sour cream, at room temperature (I use Greek yogurt)
2 cups mashed bananas (about 4 large ripe bananas) 1 teaspoon pure vanilla extract optional: 3/4 cup (100g) chopped pecans or walnuts
instructions
Adjust the oven rack to the lower third position and preheat the oven to 350°F. Grease a 9×5-inch loaf pan or coat with nonstick spray. Set aside. –
Whisk the flour, baking soda, salt, and cinnamon together in a large bowl. –
Using a handheld or stand mixer fitted with a paddle or whisk attachment, beat the butter and brown sugar together on high speed until smooth and creamy, about 2 minutes. On medium speed, add the eggs one at a time, beating well after each addition. Beat in the yogurt, mashed bananas, and vanilla extract on medium speed until combined. With the mixer running on low speed, slowly beat the dry ingredients into the wet ingredients until no flour pockets remain. Do not overmix. Fold in the nuts, if using. –
Spoon the batter into the prepared baking pan and bake for 60-65 minutes. Loosely cover the bread with aluminum foil after 30 minutes to help prevent the top and sides from getting too brown. A toothpick inserted in the center of the loaf will come out clean when the bread is done. Remove from the oven and allow the bread to cool completely in the pan set on a wire rack. –
Cover and store banana bread at room temperature for 2 days or in the refrigerator for up to 1 week. Banana bread tastes best on day 2 after the flavors have settled together. See post above for freezing instructions.